Learning how to fix common household electronics is a practical, money-saving skill that empowers homeowners to manage their living spaces with confidence in 2026. Whether you are dealing with a flickering smart bulb, a non-responsive kitchen appliance, or a laptop that refuses to boot, most technical issues stem from simple power failures or loose connections rather than complex internal hardware damage. By following a structured, stress-free troubleshooting guide for beginners, you can avoid unnecessary repair costs and reduce electronic waste. This comprehensive guide provides the foundational knowledge required to diagnose basic malfunctions safely, ensuring you possess the expertise to handle minor glitches before calling a professional technician or considering a costly replacement.
Establishing a Safe Troubleshooting Protocol
Safety is the primary prerequisite when working with any electronic device, especially as modern smart home gear integrates higher voltage systems than older counterparts. Before opening any casing or inspecting internal circuitry, you must ensure the device is completely disconnected from its power source, whether that means unplugging the cord or removing battery packs. Utilizing a non-contact voltage tester is a standard practice in 2026 to verify that no residual electricity is coursing through the components, which prevents accidental shocks during your inspection. Always maintain a clean, well-lit workspace to keep track of small screws and delicate internal ribbons that are easily misplaced or damaged during the disassembly process.
- Basic Electrical Appliance Repair: Easy Home DIY Fixes
- Cordless Tool Efficiency: A Battery Technology Comparison for Optimal Performance
- Budget vs. premium power tools: A real-world durability and performance deep dive
- Master Residential Appliance Maintenance: Smart Planning Strategies
- Advanced home repair tools: A complete guide to expert usage, safety, and techniques
Once safety is confirmed, the first step in your troubleshooting journey is the observation phase, where you look for obvious signs of external damage. Check power cables for fraying, bent pins, or signs of heat exposure, as these are frequent culprits for intermittent connectivity issues. If the exterior looks pristine, inspect the device for physical debris, such as dust buildup or pet hair, which often causes overheating in computers and gaming consoles. Consult the manufacturer’s official digital manual, which is often available through sites like ManualsLib, to understand the specific error codes or blink patterns that the device might be displaying. Documenting your observations helps you stay organized and prevents repetitive actions.
Diagnostic Tools for Every Household
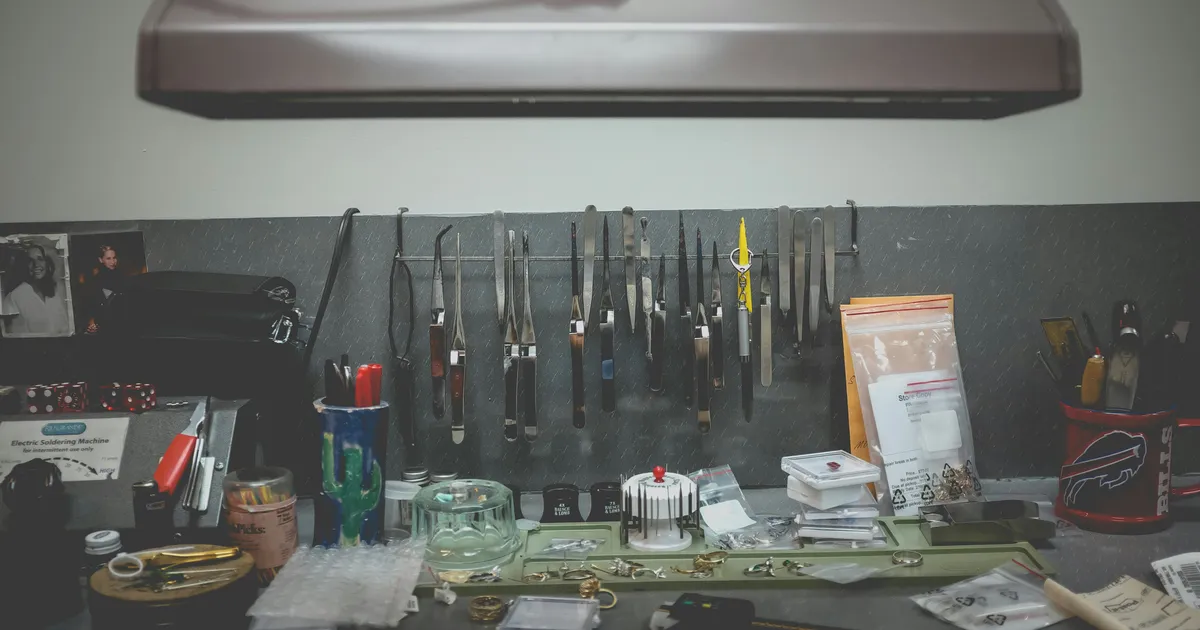
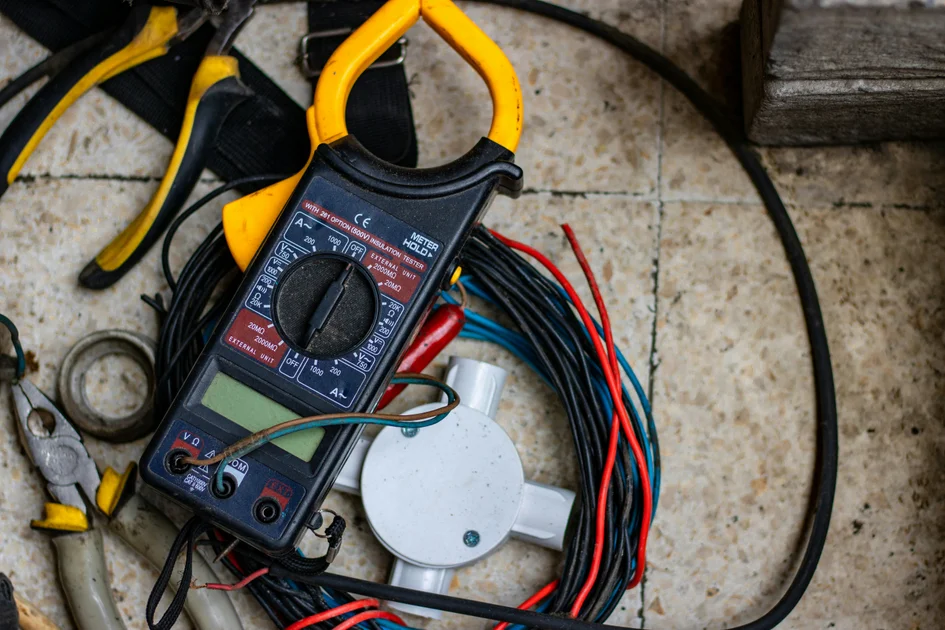
Equipping your home with a basic electronics repair kit is a smart investment for any DIY enthusiast. In 2026, the essential toolkit includes a precision screwdriver set with various magnetic heads, a digital multimeter, and a set of plastic spudgers for opening snap-fit casings without marring the plastic. A multimeter is particularly valuable because it allows you to test continuity in fuses and cables, providing definitive proof of whether a part has failed or if the issue lies elsewhere. Additionally, keeping a can of compressed air for cleaning internal fan blades and a high-quality contact cleaner for oxidizing ports can resolve a significant percentage of performance-related problems in high-end gadgets.
Essential Troubleshooting Equipment
Beyond the basic tools, having a dedicated work mat is highly recommended to protect your electronics from static discharge, which can silently destroy sensitive microchips. An anti-static wrist strap is another inexpensive yet critical safety measure, particularly when you are working on laptops or internal motherboard components. As you gain more experience, you might also consider adding a soldering iron and a magnifying lamp to your collection, which opens up the possibility of fixing broken solder joints on circuit boards. By keeping these tools organized in a labeled container, you ensure that you are always ready to tackle a sudden equipment failure with the professional precision that modern electronics demand.
Comparison Table of Repair Options
| Feature | Professional Service | DIY Repair | Manufacturer Warranty |
|---|---|---|---|
| Cost Effectiveness | High Cost | Low Cost | Zero Cost |
| Time Investment | Weeks of Waiting | 1-2 Hours | Variable |
| Skill Required | Expert Level | Beginner Level | None |
| Risk Level | Low Risk | Moderate Risk | Low Risk |
| Tools Needed | Provided by Pro | Self-Purchased | None |
| Warranty Status | Often Voided | May Void Warranty | Maintained |
Reddit & Expert Community Consensus
“Most household electronics fail not because of chip failure, but because of cheap capacitors or simple power supply units (PSUs) that stop functioning after a few years. Before you throw away that expensive monitor or blender, check the forums. You will often find that a $5 replacement part and a YouTube tutorial can save you hundreds of dollars. The community consensus is clear: don’t be afraid to open the case if you have verified the power is off. Just document every screw you pull out, and you will be fine.” — Shared by a lead technician on a popular DIY hardware subreddit in 2026.
Common Software and Connectivity Fixes
Many devices labeled as broken are actually experiencing software-side glitches that require a simple reset or firmware update. If a smart device becomes unresponsive, performing a hard reboot—often achieved by holding the power button for ten seconds or unplugging it for a full minute—can clear temporary memory leaks or configuration conflicts. In 2026, the rise of the Internet of Things (IoT) means that many electronics rely on local network stability, so check your router settings and ensure the device firmware is updated to the latest version provided by the manufacturer. Often, a device that seems to have a hardware flaw is simply failing to handshake correctly with your wireless network.
If the device remains unresponsive after a power cycle, verify the application or platform it connects to for reported server outages or maintenance windows. Websites like Downdetector provide real-time status updates on major tech services, helping you determine if the problem is local or global. If the issue is persistent, try performing a factory reset, which restores the device to its out-of-the-box state. While this requires you to reconfigure your settings, it is the most effective way to rule out corrupt software files. Always back up your data or configuration profiles whenever possible before initiating a factory reset to avoid losing personalized settings or saved preferences.
Managing Battery and Power Issues
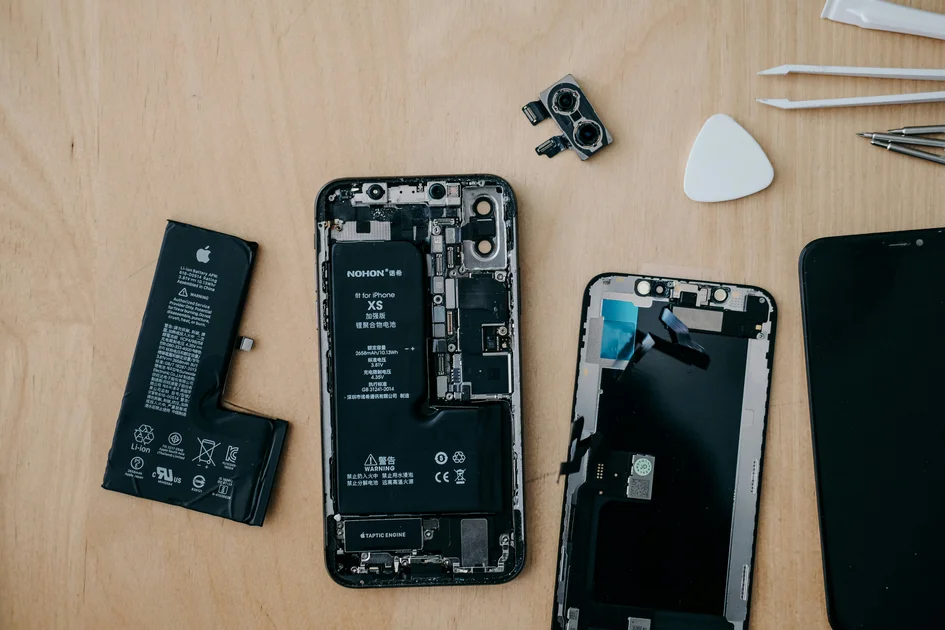
Power delivery is the most frequent point of failure in modern portable electronics, with batteries often losing their capacity after two or three years of heavy usage. When you notice a device failing to hold a charge or shutting down unexpectedly, inspect the battery compartment for signs of leakage, swelling, or corrosion. In 2026, many manufacturers offer user-replaceable battery kits, which are far more cost-effective than professional replacements. If the battery is sealed, you may need specialized tools to access it, so always research your specific model number on sites like iFixit to see if a repair guide exists before attempting a forced opening of the casing.
For wired devices, the power brick itself is often the weakest link. If a device has stopped turning on, test the outlet with another appliance to ensure your home’s electrical circuit is functioning correctly. If the outlet is fine, use your multimeter to test the power adapter output against the voltage rating listed on the device’s label. If the adapter is dead, purchasing a replacement that matches the exact voltage, amperage, and polarity is a simple fix that restores functionality immediately. Never use a power adapter that does not match the specifications of the original, as this can cause permanent damage to the internal logic board of your electronics.
When to Seek Professional Assistance
Despite your best efforts, some repairs fall outside the scope of beginner-level troubleshooting. If you encounter signs of charred internal components, a distinct burning smell, or if the device involves high-voltage capacitors that remain charged even after unplugging, it is time to stop. Safety must always be your priority, and some devices, such as large microwave ovens or high-end television sets, contain components that can cause severe injury if mishandled. Recognizing your limitations is a sign of true expertise, and knowing when to hand the job over to a certified professional prevents further damage and keeps your household safe from electrical fire hazards.
In 2026, many local repair shops now specialize in “right to repair” initiatives, making it easier than ever to find affordable, professional help for specialized tasks like micro-soldering or screen replacements. When choosing a technician, look for certifications and read recent customer reviews to ensure they have experience with your specific brand of equipment. By documenting what you have already tried during your initial troubleshooting phase, you can save the technician time and potentially reduce the cost of the repair. A good professional will appreciate your detailed notes, as it helps them narrow down the root cause of the failure much faster than starting from scratch.
Key Takeaways
- Always disconnect power sources before starting any internal hardware inspection.
- Use a multimeter to verify power delivery and circuit continuity systematically.
- Document every step and screw location to ensure easy reassembly of devices.
- Consult manufacturer manuals and online repair databases before forcing open cases.
- Prioritize software updates and factory resets to rule out firmware-based glitches.
- Know your limits and seek professional help for high-voltage or hazardous repairs.
Frequently Asked Questions
Is it safe to fix electronics if I have no experience?
Yes, as long as you follow safety protocols like unplugging devices and using the right tools. Start with low-voltage items like battery-operated gadgets to build confidence before moving to mains-powered equipment.
What is the most common cause of electronic failure?
The most common issues are power supply failures, loose internal connections, and software glitches. These are often easier to fix than actual hardware component failures.
Do I need expensive tools to troubleshoot my devices?
Not necessarily. A basic set of precision screwdrivers and a digital multimeter will solve most common problems. You can build your toolkit over time as your repair skills grow.
Will opening my device void the manufacturer’s warranty?
It depends on the manufacturer’s policy. Always check your warranty documentation or the company website before removing any stickers or opening the casing of a device still under warranty.
Where can I find reliable repair guides for my specific electronics?
Websites like iFixit and official manufacturer support portals are excellent resources. YouTube channels dedicated to specific product repairs also provide visual walkthroughs that are incredibly helpful for beginners.
Conclusion
Mastering the basics of household electronics repair is an invaluable skill that saves both time and money in 2026. By approaching troubleshooting with patience and a methodical mindset, you can resolve the vast majority of technical issues without needing to visit a repair shop or buy a brand-new replacement. Remember that every successful fix starts with safety, proper observation, and the right diagnostic tools. As you continue to learn and practice these techniques, you will find that even the most intimidating gadgets become manageable, empowering you to live a more sustainable and tech-savvy lifestyle.