
Mastering the ultimate beginner’s guide to safely repairing small household appliances at home can save you thousands of dollars while reducing your environmental footprint in 2026. Many homeowners discard functional items simply due to minor mechanical failures or loose electrical connections that could be fixed with basic tools. This guide empowers you to diagnose common issues, perform routine maintenance, and execute minor repairs without needing a professional technician. By understanding the core mechanics of your kitchen gadgets and home electronics, you gain the confidence to extend the lifespan of your devices significantly. We will explore essential safety protocols, necessary toolkits, and step-by-step troubleshooting techniques to ensure your DIY journey is both successful and secure for every appliance in your modern household.
Essential Safety First Protocols
Before you even touch a screwdriver, prioritize your personal safety by establishing a secure workspace. The most fundamental rule for safely repairing small household appliances at home is ensuring the device is completely disconnected from any power source. For corded appliances, this means physically unplugging the cord from the wall outlet, not just turning the device off. For battery-operated gadgets, remove the battery pack entirely to prevent accidental activation during the repair process. Always work in a well-lit area with a clean, stable surface to prevent losing small screws or internal components. In 2026, many smart appliances feature capacitors that retain an electrical charge even after being unplugged, so consider using an insulated discharge tool if you are working on high-voltage circuitry.
- How to Select Tools: Essential Criteria for Home Improvement Projects
- DIY Appliance Repair: Simple Workflow for Non-Tech Users
- Energy-efficient home appliances: A homeowner's guide to lowering monthly utility bills
- Built to Last: Durable Tool Selection for Residential Maintenance
- Washing Machine Drum Malfunction: Diagnosis & Repair Solutions
Protective gear remains non-negotiable for any DIY enthusiast regardless of experience level. Safety glasses are crucial to protect your eyes from debris, spring-loaded components, or accidental chemical leaks from capacitors. If you are soldering or working with heat-sensitive parts, wear heat-resistant gloves to avoid minor burns. Keep a fire extinguisher rated for electrical fires nearby, as a precaution against short circuits. Never attempt to bypass built-in safety switches or tamper with internal wiring unless you have verified the circuit is dead using a reliable multimeter. By following these rigorous precautions, you create a professional environment that minimizes risk while maximizing your efficiency during the troubleshooting phase of your appliance repair project.
Building Your Professional Repair Toolkit
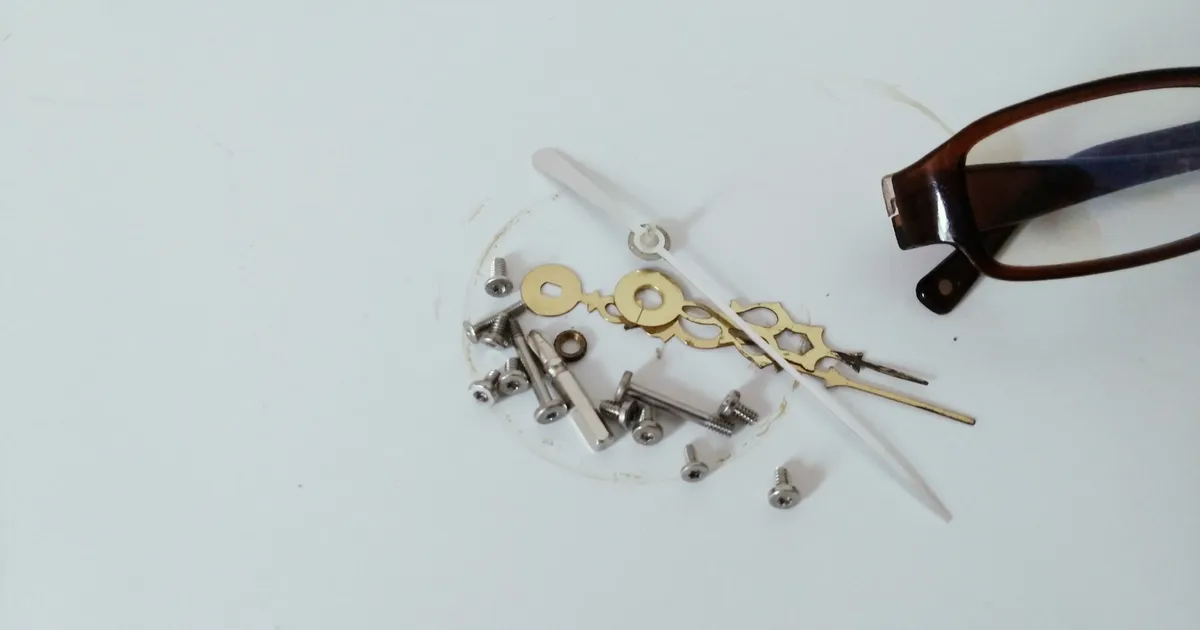
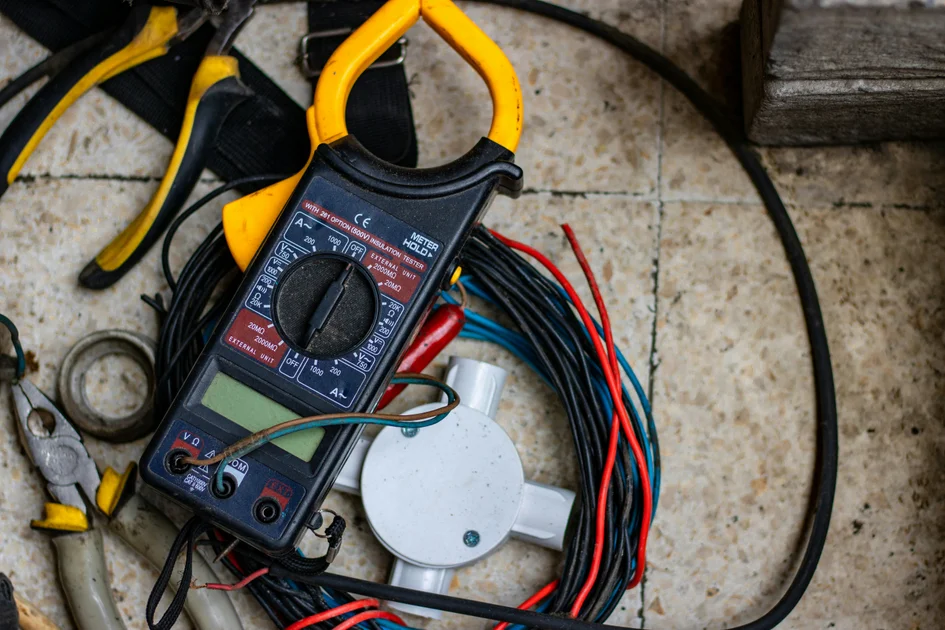
You do not need an expensive workshop to handle most domestic repairs, but having the right tools is essential for success. A high-quality set of precision screwdrivers, including Philips, flathead, Torx, and hex bits, covers about 90 percent of most small appliance casings. Invest in a digital multimeter to measure voltage, resistance, and continuity, which helps identify broken wires or failing thermal fuses quickly. Needle-nose pliers and wire strippers are also indispensable for managing internal connections. Many experts recommend keeping a magnetic tray on your workstation to organize small screws and springs as you disassemble units, ensuring nothing goes missing during the complex reassembly stage of your project.
As you advance, consider adding specialized tools like a soldering iron for fixing loose circuit board connections or a spudger set for opening plastic housing without damaging the casing. A headlamp provides directed light into dark, cramped appliance interiors, significantly improving your visibility. For those interested in deeper electronic diagnostics, a set of tweezers and a magnifying glass can make working with micro-components much easier. While you can often source replacement parts from official manufacturer websites like iFixit, having a basic kit allows you to perform immediate inspections. Remember that quality tools are a long-term investment that will serve you throughout your home ownership journey in 2026 and beyond.
Diagnosing Common Appliance Faults
Most small appliance failures stem from a few predictable culprits: burnt-out thermal fuses, loose internal wiring, or blocked ventilation pathways. If a toaster or blender suddenly stops working, start by checking the power cord for fraying or physical damage. If the cord looks intact, the issue often lies with a thermal fuse, a safety device designed to blow if the appliance overheats. Use your multimeter to test for continuity across the fuse; if the device shows no reading, the fuse has tripped and needs a direct replacement. This simple fix is frequently the difference between a functional machine and a trip to the local landfill, saving you significant repair costs.
Step-by-Step Troubleshooting Checklist
When approaching a broken device, follow a logical process to isolate the failure point efficiently. First, check the power supply and confirm the wall outlet itself is operational by plugging in a known good lamp. Next, perform a visual inspection of the internal components for signs of charring, loose wires, or melted plastic. If the device remains silent, test the switch mechanism, as these are frequent points of mechanical failure due to repetitive use. Finally, consult the appliance service manual, which can often be found through ManualsLib, to understand the specific wiring schematic of your model. Systematic testing prevents unnecessary disassembly and ensures you target the actual root cause rather than guessing at potential repairs.
Cost & Pricing Breakdown
Understanding the economics of repair versus replacement is critical for the budget-conscious homeowner. In 2026, the average cost of a professional repair call often exceeds the price of a new entry-level appliance, making DIY repair a highly lucrative skill. Below is a breakdown of estimated costs for common repair scenarios compared to professional services.
| Repair Task | DIY Cost (Parts) | Professional Service Cost | Savings |
|---|---|---|---|
| Thermal Fuse Replacement | $5 – $15 | $80 – $120 | $75 – $105 |
| Broken Power Cord | $10 – $20 | $60 – $100 | $50 – $80 |
| Circuit Board Repair | $20 – $50 | $150 – $250 | $130 – $200 |
| Drive Belt Replacement | $8 – $15 | $70 – $110 | $62 – $95 |
Reddit & Expert Community Consensus
Engaging with online communities can provide invaluable insights into model-specific quirks and hidden repair tricks. Many enthusiasts share their experiences on forums like Reddit, where collective knowledge helps prevent common mistakes. When asked about the importance of safety, the community consensus is overwhelmingly clear: never rush the process.
“The best advice I ever received for appliance repair was to take photos of every single step during disassembly. When you have a dozen loose screws and multiple wires, memory isn’t enough. Having a visual reference of how the device looked before you took it apart makes reassembly stress-free and prevents that ‘extra screw’ mystery.” — DIY Enthusiast, r/ApplianceRepair
Sourcing Reliable Replacement Parts
Locating the correct replacement parts is the final hurdle in your repair project, and accuracy is paramount. Always search for parts using the specific model number found on the appliance’s data plate, usually located on the bottom or back of the unit. Avoid generic parts unless you are absolutely certain of the specifications, as incorrect voltage or amperage ratings can lead to safety hazards or further internal damage. Many manufacturers maintain online portals where you can purchase genuine OEM parts, which often come with compatibility guarantees. If an appliance is discontinued, check reputable secondary market sources or specialized electronic component suppliers to find compatible alternatives that meet the original requirements.
In addition to OEM parts, many hobbyists utilize 3D printing to manufacture non-electrical structural components like knobs, latches, or internal gears. If you own or have access to a 3D printer, this can be a game-changer for older appliances that are no longer supported by the manufacturer. Always prioritize quality over price when selecting electrical components, as cheap knock-off fuses or switches may lack the necessary safety certifications. Building a relationship with a local appliance parts store can also be beneficial, as experienced counter staff can often identify obscure parts just by looking at the old component. Persistence in sourcing is the hallmark of a skilled repair technician.
Key Takeaways
- Always disconnect the power supply completely before opening any appliance casing.
- Use a digital multimeter to test for continuity and verify electrical component health.
- Document your disassembly process with photos to ensure accurate reassembly.
- Prioritize safety gear, including glasses and heat-resistant gloves, for every repair.
- Always source parts using the specific model number found on the device data plate.
- Compare the cost of parts against the value of the appliance to determine feasibility.
Frequently Asked Questions
Is it safe to repair appliances myself?
Yes, as long as you follow strict safety protocols, ensure the device is unplugged, and avoid tampering with sealed high-voltage components like capacitors without proper discharge tools.
What tools are absolutely necessary for a beginner?
A precision screwdriver set, a digital multimeter, needle-nose pliers, and a magnetic tray are the foundational tools for almost all small household appliance repairs.
Where can I find manuals for my old appliances?
Most manufacturers host digital copies of user and service manuals on their official websites, or you can use online repositories like ManualsLib for older, discontinued models.
What should I do if I cannot find the replacement part?
Check specialized electronic component retailers, search for used parts on auction sites, or consider 3D printing for non-electrical components like knobs and handles.
When should I stop and hire a professional?
If you encounter high-voltage components, see signs of significant internal burning, or feel unsure about the wiring schematic, it is safer to consult a certified professional.
Conclusion
Learning how to safely repair small household appliances at home is a rewarding journey that blends technical skill with environmental stewardship. By taking the time to learn the internal workings of your electronics, you transform from a passive consumer into an active maintainer of your home. Always respect the power involved, keep your workspace organized, and never hesitate to seek expert advice when faced with complex electrical issues. As you refine your skills throughout 2026, you will find that most malfunctions are simple puzzles waiting to be solved. Embrace the challenge, save your money, and enjoy the satisfaction of keeping your household running smoothly for years to come.