It was a Saturday morning, and the distinct, alarming smell of burning plastic wafted from our dishwasher. My heart sank. Visions of expensive repair bills or, worse, a complete replacement danced in my head. For many, a malfunctioning appliance immediately triggers panic and the urge to call a technician, often incurring significant costs. However, what if I told you that with a simple, stepwise appliance troubleshooting framework for beginners, you could diagnose – and often fix – many common household issues yourself, saving both time and money? This isn’t just about repairs; it’s about empowerment, transforming that initial dread into a satisfying sense of accomplishment.
The Golden Rules of Safety First
Before you even think about grabbing a screwdriver or peering into the dark abyss of a non-functional machine, safety must be your absolute priority. My unwavering advice is always to disconnect the appliance from its power source. For electric items, this means unplugging it from the wall socket; for hard-wired units, switch off the corresponding circuit breaker at your home’s electrical panel. If you’re dealing with a gas appliance, locate and turn off the gas supply valve. This crucial first step prevents electrical shocks, gas leaks, and potential injury, ensuring you can work on the appliance without hazardous risks.
- Best Home Maintenance Practices to Prevent Major Repairs
- Energy-efficient home appliances: A homeowner's guide to lowering monthly utility bills
- Troubleshooting Home Appliances: Common Faults & Simple Solutions
- Smart Home Maintenance Strategies for Long Term Savings
- Product Buying Guide for Reliable Home Repair Equipment
Beyond simply cutting power, consider other potential hazards. Water lines, especially for washing machines or dishwashers, should be turned off at their supply valves to prevent floods. Always wear appropriate personal protective equipment (PPE), such as insulated gloves and safety glasses, particularly when inspecting electrical components or working with sharp edges. Never assume a machine is safe because it’s “just a small problem.” A systematic approach to safety safeguards not only your well-being but also prevents further damage to the appliance or your home. For comprehensive safety guidelines, I often recommend consulting resources like the Consumer Product Safety Commission.
Observe, Listen, and Gather Clues
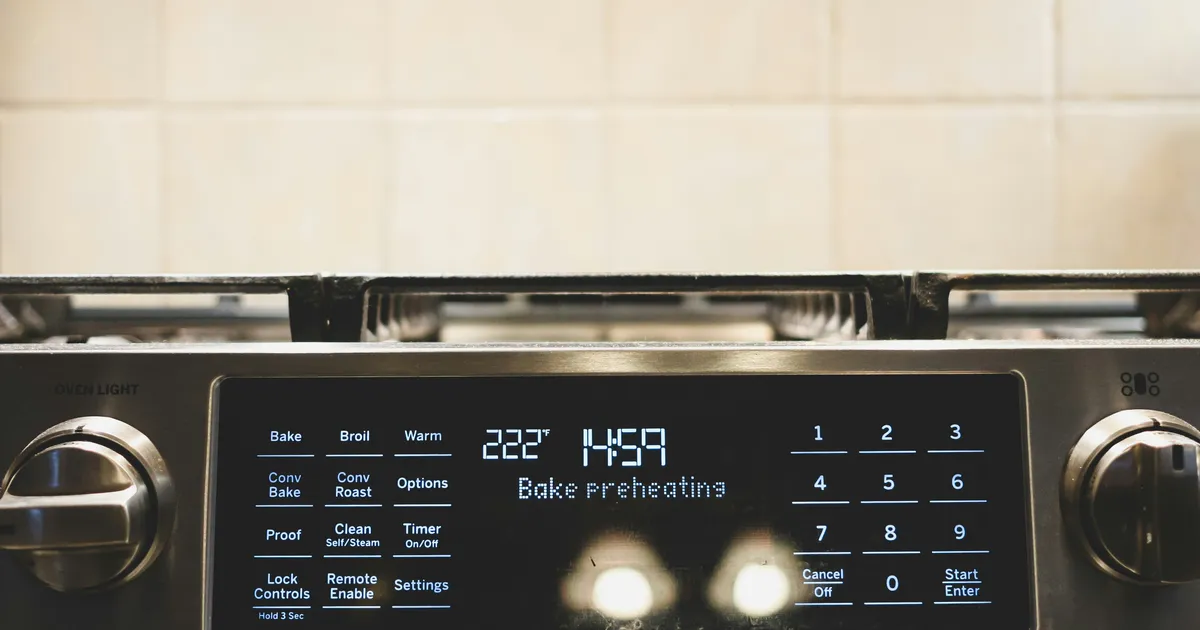
Once safety is assured, become a detective. Your appliance is trying to tell you something! Start by observing its behavior carefully. What exactly is (or isn’t) happening? Are there any lights flickering, or are they completely off? Do you hear unusual noises – humming, clicking, grinding, or silence? Are there any strange smells, like burning, ozone, or gas? Note the exact moment the problem occurred. Was it after a power surge, during a specific cycle, or completely out of the blue? These initial observations are invaluable, providing the first critical clues in your troubleshooting journey.
Contextual information can be equally powerful. Have you recently moved the appliance? Was there a recent power outage? Did anyone make adjustments to settings? Check for any visible error codes on digital displays; these are often direct messages from the appliance’s internal diagnostic system. Consult your appliance’s user manual (more on that later) to decipher these codes. Even seemingly minor details, like a puddle of water under a refrigerator or a door that won’t quite latch, can point you directly toward the root cause. My own experience has shown that patience in this observation phase often saves hours of aimless tinkering later on.
Is it Truly the Appliance? The Basics
Often, what appears to be an appliance malfunction is actually an external issue. Before dismantling anything, confirm the appliance is receiving power. Plug a known working device, like a lamp or phone charger, into the same outlet to ensure the outlet itself is live. If not, check your home’s circuit breaker panel; a tripped breaker is a common culprit. For gas appliances, verify the gas supply is on and that other gas appliances in your home are functioning correctly. It sounds elementary, but I’ve seen countless times where a simple power or supply issue was mistaken for a complex internal fault.
Beyond power, consider user error or incorrect settings. Have you inadvertently pressed the wrong button or selected an obscure cycle? Is the door fully closed and latched? Is a child lock engaged? Many modern appliances, especially in 2026, have sophisticated safety features that prevent operation if certain conditions aren’t met. Take a moment to review the control panel and any relevant settings. A quick glance at the “troubleshooting” section of your manual can often reveal a simple solution for issues that feel like major breakdowns, saving you a professional service call.
Isolate the Problem (The Process of Elimination)
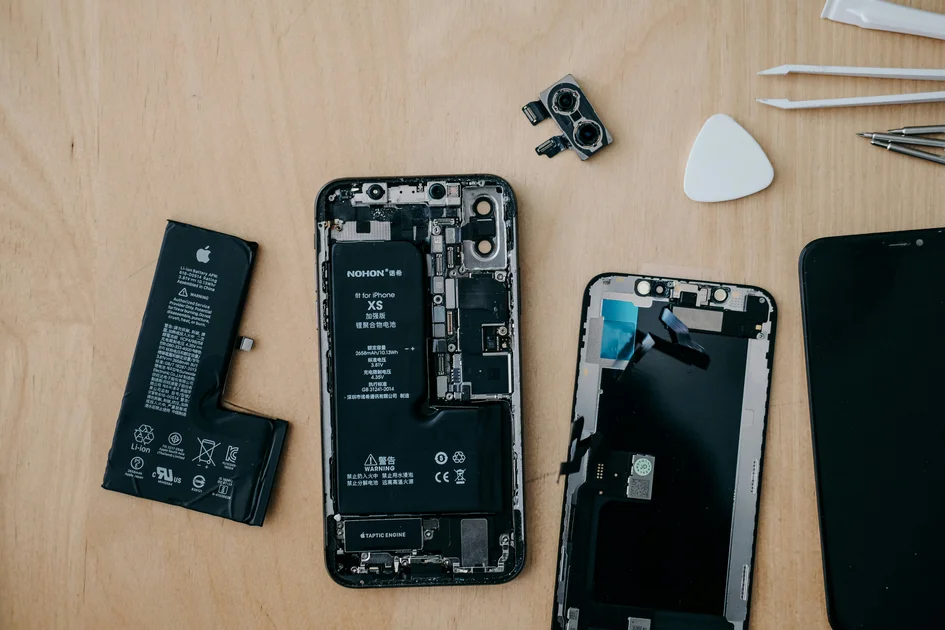
With external factors ruled out, it’s time to delve into the appliance itself, but always systematically. Think of the appliance as a series of interconnected systems: electrical, mechanical, and sometimes fluid. Can you narrow down the issue to one of these? For example, if a washing machine isn’t spinning, is it a motor issue (mechanical), a control board issue (electrical), or a drain issue preventing the cycle from advancing (fluid/mechanical)? By breaking down the problem into smaller, manageable parts, you can focus your diagnostic efforts more effectively.
Start with the simplest, most common failure points. For a dryer not heating, check the lint trap and exhaust vent for blockages. For a refrigerator not cooling, clean the condenser coils. These are often accessible components that can be visually inspected for damage or obstruction. Use your senses – look for burnt wires, listen for strange noises coming from specific components, or feel for unusual vibrations. The process of elimination is about testing one variable at a time, ruling out possibilities until the most likely cause remains. This systematic approach, rather than random poking, is the hallmark of effective troubleshooting.
Consulting the Manual (Your Best Friend)
In my opinion, the appliance manual is the most underutilized tool in the beginner’s troubleshooting kit. It’s not just a collection of instructions; it’s a detailed guide to your specific model. Most manuals contain a dedicated troubleshooting section that lists common problems, their symptoms, and suggested solutions. Many also include detailed diagrams, parts lists, and even wiring schematics that can be invaluable for identifying components. If you’ve lost your physical manual, don’t despair! Most manufacturers provide downloadable PDF versions on their websites, or you can find them on sites like ManualsLib. Make it your first stop after initial observation.
When to Call a Professional (Knowing Your Limits)
While the stepwise appliance troubleshooting framework for beginners can solve many issues, it’s crucial to recognize when a repair is beyond your skill set or poses a significant safety risk. If the problem involves gas lines, high-voltage electrical components that require specialized tools, or sealed refrigeration systems, it’s time to call a certified professional. Tampering with these systems without proper training can lead to severe injury, property damage, or even void your appliance’s warranty. My strong belief is that knowing your limits is a sign of wisdom, not failure.
Consider the cost-benefit analysis. Is the repair likely to be more expensive than replacing the appliance, especially if it’s an older model? Does the appliance still have a warranty that would cover the repair if performed by an authorized technician? For complex issues, a professional diagnostician can often pinpoint the problem much faster and more accurately, using specialized equipment. In 2026, finding reputable, certified technicians is easier than ever with online reviews and professional associations. Don’t hesitate to seek expert help when the situation demands it; it’s an investment in safety and peace of mind.
Key Takeaways
- Prioritize Safety Above All Else: Always disconnect power and shut off supply lines (gas/water) before any inspection. Wear appropriate PPE and understand the risks involved with different appliance types.
- Adopt a Detective Mindset: Observe carefully for sounds, smells, visual cues, and error codes. Gather all contextual information about when and how the problem began, as these details are critical for accurate diagnosis.
- Validate External Factors First: Confirm that the problem isn’t due to a tripped breaker, unplugged cord, incorrect settings, or a closed supply valve. These simple checks often resolve issues without needing to open the appliance.
- Systematically Isolate and Consult: Break down the appliance into smaller systems and use a process of elimination, testing common failure points. Always consult your appliance’s manual for troubleshooting charts, diagrams, and error code explanations.
Frequently Asked Questions
What are the most common mistakes beginners make when troubleshooting?
The most common mistakes include neglecting safety precautions, immediately assuming a major internal fault without checking external factors like power, and haphazardly disassembling components without a systematic diagnostic plan or consulting the manual. Patience and methodology are key.
How do I know if an appliance is worth repairing or if I should just replace it?
Generally, if the repair cost exceeds 50% of the cost of a new, comparable appliance, or if the appliance is very old and frequently breaks down, replacement is often the more economical choice. Consider the appliance’s age, energy efficiency, and expected lifespan.
Where can I find reliable information or parts for my specific appliance model?
Your appliance’s manufacturer website is the best source for manuals and parts diagrams. Online parts retailers often require the full model number for accurate part identification. YouTube tutorials specific to your model can also be incredibly helpful, but always verify the source’s credibility.
Is it always better to DIY appliance repair to save money?
Not always. While DIY can save money on simple fixes, attempting complex repairs involving gas, high voltage, or specialized tools can be dangerous and lead to more costly damage. It’s crucial to weigh the potential savings against safety risks and your own skill level.
Conclusion
Embracing a stepwise appliance troubleshooting framework for beginners is more than just a practical skill; it’s a step towards greater self-reliance and significant savings. By prioritizing safety, observing meticulously, systematically isolating problems, and knowing when to call in the experts, you empower yourself to tackle common household appliance issues with confidence. Don’t let a malfunctioning gadget in 2026 intimidate you; instead, view it as an opportunity to learn, grow, and keep your home running smoothly and efficiently. This journey of understanding your appliances is truly a rewarding one.