I still remember the crushing disappointment when my beloved, decade-old stand mixer sputtered and died mid-bake. My first instinct was to despair, then to start browsing for a replacement. But a nagging voice, fueled by years of tinkering with everything from old radios to garden tools, told me to pause. That moment of hesitation, that decision to pick up a screwdriver instead of my wallet, led me down a path of discovery that I believe every homeowner should explore: the incredibly rewarding world of practical repair approaches for small household appliances. It’s not just about saving money; it’s about empowerment, sustainability, and the profound satisfaction of bringing something back to life with your own hands.
Embracing the Diagnostic Mindset
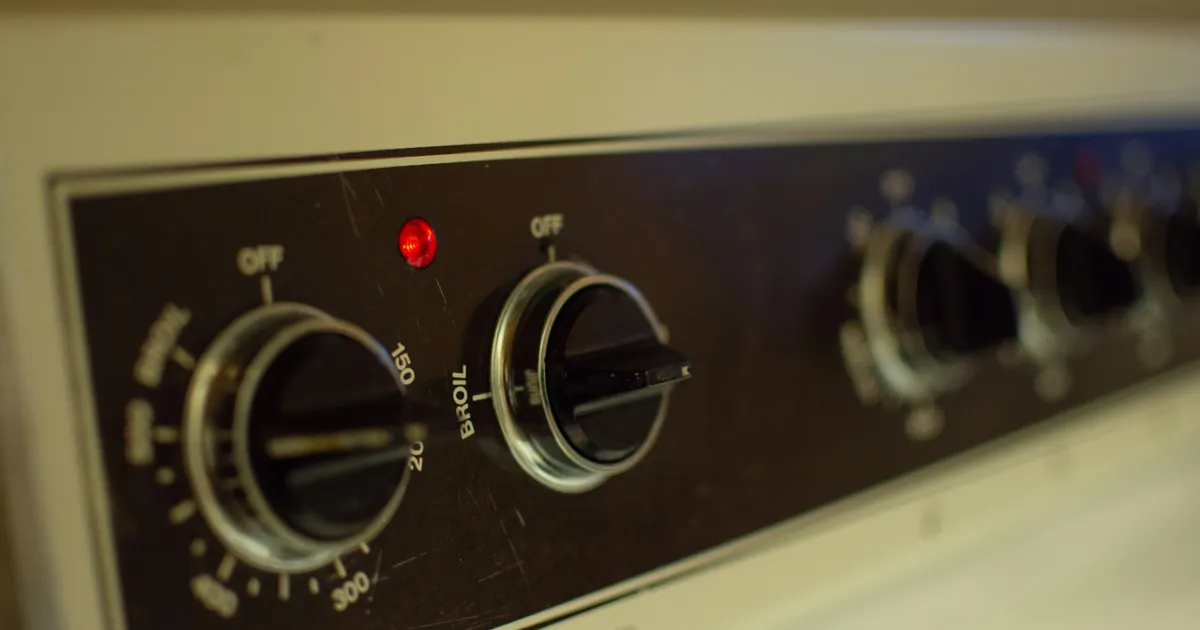
Before you even think about grabbing a tool, the most crucial step in any appliance repair is adopting a methodical diagnostic mindset. This involves careful observation and logical deduction, much like a detective piecing together clues. Start by asking fundamental questions: What exactly happened? Was there a strange smell, a sound, or just a sudden cessation of function? Check the obvious first – is it plugged in? Is the outlet working? Sometimes, the simplest explanation is the correct one, and overlooking these basics can lead to unnecessary frustration and wasted time. Patience here is truly a virtue, preventing hasty conclusions.
Once the basic checks are complete, move on to more detailed observations. For instance, if a toaster isn’t heating, does the lever stay down? If a blender isn’t spinning, does the motor hum? These subtle cues provide invaluable insights into the potential failure point, whether it’s an electrical issue, a mechanical obstruction, or a broken switch. Documenting your observations, even mentally, helps create a troubleshooting roadmap. This systematic approach not only increases your chances of a successful repair but also builds a deeper understanding of how these everyday devices operate, making future fixes even easier.
Essential Tools for the Home Tinkerer
You don’t need a professional workshop to tackle most small appliance repairs; a modest collection of essential tools will get you surprisingly far. At the very least, invest in a good set of Phillips and flathead screwdrivers, including precision sizes for smaller screws. A multimeter is arguably your most powerful diagnostic friend, allowing you to test for continuity, voltage, and resistance – invaluable for electrical issues. I’ve found that a cheap multimeter from a hardware store is perfectly adequate for most home applications, though learning how to use it safely is paramount. Don’t underestimate the utility of a pair of needle-nose pliers and wire cutters for manipulating small components.
Beyond the basics, consider adding a spudger tool (often used for electronics repair) to gently pry open plastic casings without marring them, and a headlamp or good flashlight for illuminating cramped interiors. Small brushes or compressed air are excellent for cleaning out dust and debris, which often contribute to appliance malfunctions. For tasks involving heat, a soldering iron might be necessary, but that’s often a step beyond initial troubleshooting. Remember, the goal isn’t to buy every tool, but to acquire the right tools for common problems, fostering confidence in your practical repair approaches for small household appliances.
Safety First: A Non-Negotiable Step
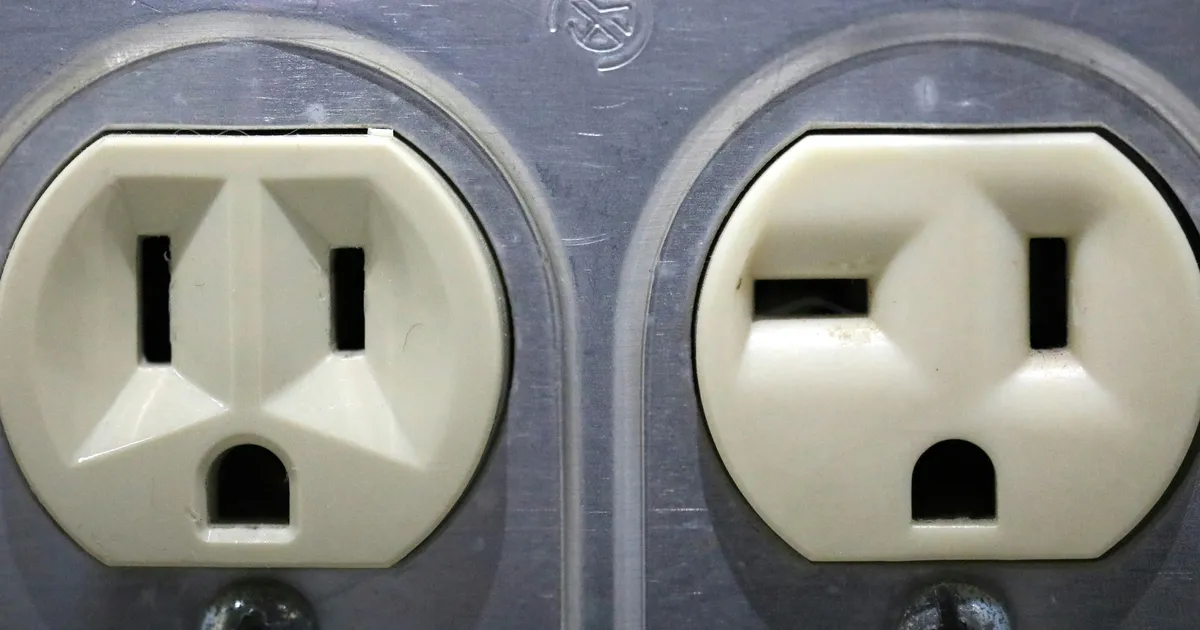
When dealing with any electrical appliance, safety must always be your absolute top priority. The very first rule, without exception, is to unplug the appliance from the wall socket before you begin any inspection or repair. This simple act eliminates the risk of electric shock, which can be fatal. I cannot stress this enough – never assume an appliance is safe because it’s switched off; always pull the plug. Even after unplugging, some appliances, particularly those with large capacitors like microwaves, can retain a dangerous electrical charge. While professional handling is recommended for such devices, general awareness is key.
Understanding Electrical Safety Basics
Beyond simply unplugging, it’s vital to understand a few electrical safety basics. Always work in a well-lit, dry area, and avoid standing in water or on damp ground. If you’re using a multimeter, ensure its probes are in good condition and your hands are dry. When testing for continuity or voltage, be mindful of where your hands are placed to avoid accidental contact with live components, should the appliance somehow become re-energized. Wearing insulated gloves, though often bulky, adds an extra layer of protection, particularly if you’re ever unsure about a component. Remember, electricity is unforgiving, and a moment of carelessness can have severe consequences. For comprehensive safety guidelines, I often refer to resources from organizations like NFPA.
Common Culprits and Their Simple Cures
Many small appliance failures stem from surprisingly common and often simple issues. One frequent offender is the power cord itself; constant bending and tugging can cause internal wire breaks. A quick visual inspection for fraying or damage, followed by a continuity test with a multimeter, can often pinpoint this. Another prevalent problem is debris accumulation: crumbs in toasters, mineral buildup in coffee makers, or lint in hair dryers can all impede function. Regular cleaning is preventative, but when a clog occurs, a thorough manual cleaning or descaling can often restore full operation. I’ve seen countless “broken” appliances resurrected by merely clearing a blockage.
Switches and buttons are also common points of failure, experiencing wear and tear over time. A switch might become sticky, lose its tactile ‘click,’ or fail to make proper electrical contact. Sometimes, a quick spray with electronic contact cleaner can resolve this, but often, the switch itself needs replacement. Overheating is another issue, frequently triggered by clogged vents or overworked motors; many appliances have thermal fuses that trip to prevent damage. If an appliance suddenly stops and won’t restart, a tripped thermal fuse might be the culprit, often a simple part to replace once the underlying cause of overheating is addressed. By 2026, I anticipate more modular designs making these replacements even easier.
The Repair vs. Replace Conundrum
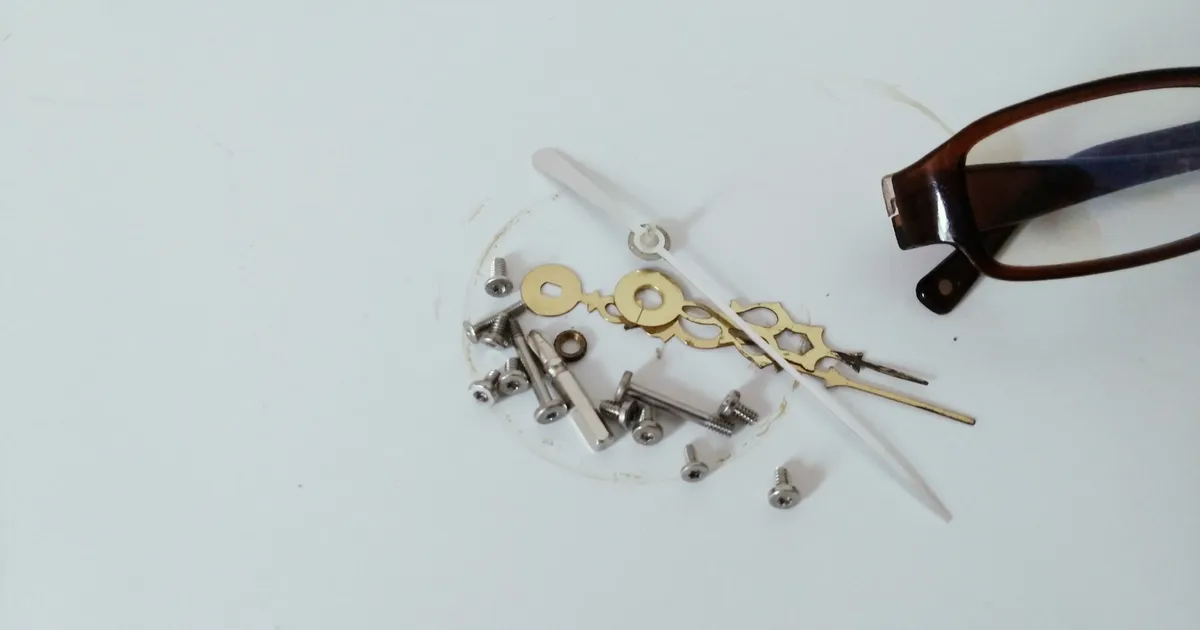
Deciding whether to repair a small appliance or replace it is a nuanced decision, influenced by several factors beyond just the immediate cost. Consider the appliance’s age, the availability of spare parts, and the complexity of the repair. A ten-year-old blender with a cracked housing might be a lost cause, but a newer model with a simple faulty switch is often worth the effort. Sites like iFixit offer extensive repair guides and part availability for a vast array of devices, which can significantly influence your decision. My personal rule of thumb is that if the repair cost (including your time) is less than 50% of a new equivalent appliance, and you feel confident in the fix, then repair is usually the better choice.
Beyond economics, there’s a significant environmental and personal satisfaction aspect. Repairing an appliance contributes to sustainability by reducing electronic waste and conserving resources that would be used to manufacture a new item. There’s also immense personal pride in extending the life of something you use daily. However, it’s also important to recognize when a repair is genuinely beyond your skill level or presents a safety risk. For complex internal motor issues, or appliances under warranty, seeking professional help or opting for replacement might be the more sensible and safest path. Many models introduced in 2026 are designed with better repairability in mind, a welcome trend.
Key Takeaways
- Adopt a Systematic Diagnostic Approach: Always start with the simplest checks – power, plugs, basic function – and observe carefully. A methodical, step-by-step process is far more effective than guessing, saving time and preventing further damage.
- Prioritize Safety Above All Else: Unplug the appliance from the power source before any inspection or repair. Be mindful of residual charges in capacitors and work in a dry, well-lit environment to prevent electric shock.
- Invest in Essential Repair Tools: A basic toolkit including screwdrivers, needle-nose pliers, and especially a multimeter, will cover most small appliance issues. These tools empower you to diagnose and fix common problems confidently.
- Evaluate Repair vs. Replace Holistically: Consider not just the cost and complexity of the repair, but also the appliance’s age, part availability, environmental impact, and your personal satisfaction. Don’t be afraid to repair, but also know when to responsibly replace.
Frequently Asked Questions
Is it always cheaper to repair a small appliance than to buy a new one?
Not always. The cost-effectiveness depends on the specific repair, the price of replacement parts, and the value of your time. For very inexpensive appliances, a complex repair might exceed the cost of a new unit. However, for mid-to-high-range appliances, especially those with sentimental value, repair is often the more economical and sustainable choice.
How can I find spare parts for older or less common appliances?
Online retailers specializing in appliance parts, the manufacturer’s official website, or even auction sites like eBay can be good sources. Sometimes, a local appliance repair shop might have stock or be able to order parts for you. Always have the appliance’s model number handy when searching.
What’s the best way to learn how to use a multimeter for diagnostics?
There are numerous free tutorials on YouTube and websites like iFixit that provide excellent step-by-step guides for using a multimeter to test continuity, voltage, and resistance. Starting with simple tests on batteries or extension cords can build confidence before moving to appliance diagnostics.
When should I absolutely call a professional for an appliance repair?
You should call a professional if the repair involves high-voltage components like those in microwaves (which can store lethal charges), if you’re dealing with gas appliances, or if the repair is complex and beyond your comfort or skill level. Also, if the appliance is still under warranty, attempting a DIY repair might void it.
Conclusion
Embracing practical repair approaches for small household appliances is more than just a money-saving endeavor; it’s a step towards greater self-sufficiency and a more sustainable lifestyle. By cultivating a diagnostic mindset, equipping yourself with basic tools, and always prioritizing safety, you’ll discover that many common household frustrations can be resolved with a bit of patience and effort. The satisfaction of restoring a beloved item to working order is immense, and it empowers you to extend the lifespan of your possessions, reducing waste and fostering a deeper connection with the things you own. Let’s look forward to a 2026 where repair is celebrated and accessible to all.